Free Crochet Puff Flower Solid Square Pattern & Video Tutorial


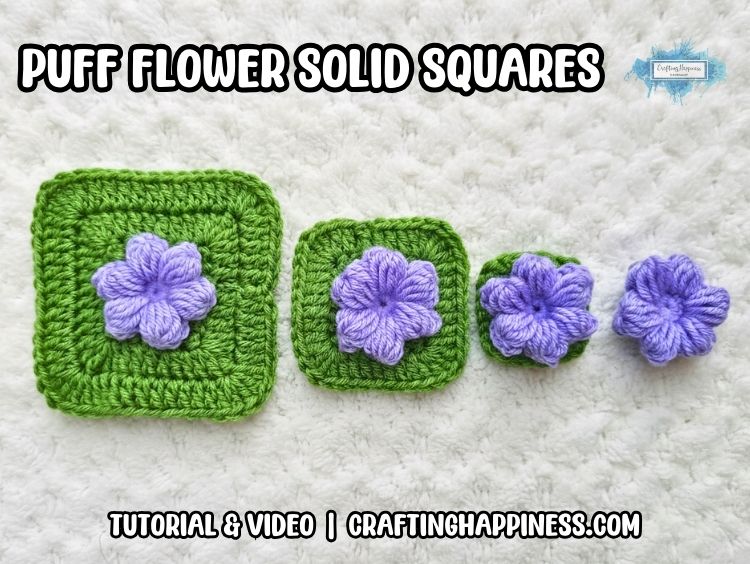
Make These Easy Crochet Puff Flower Solid Squares
I want to show you a fun way to crochet a puff flower solid square. This is great for anyone who wants to build a project with no holes. This takes a short time to finish, making it great for beginner or intermediate crocheters.
Click the link to go straight to the free crochet pattern or to the video tutorial.
Solid squares are a great choice when you want to crochet a warm baby blanket. Because the stitches are close together, there are no big holes for tiny fingers to get stuck in. You can join many of these puff flower solid squares together to make a large throw for your sofa.
The crochet puff flower stays right in the middle, giving your project a thick, textured feel that is also very soft. These blocks work well for making tote bags or colorful pillows.

If you have a lot of yarn scraps, you can make each flower a different color. Using these crochet puff flower solid squares is an excellent way to clear out your yarn bins while making something very colorful.
If you want something smaller, one solid square makes a pretty pocket for a jacket or a patch for a plain hat. They keep their shape very well, which makes them easy to add to any clothing you already own.

Please note that this post may contain affiliate links. I will earn a small percentage if you purchase any item through the links on this site, but it will be at no cost to you. You can see my full disclosure policy here. Thank you for supporting my work and this blog.
Video Guide For Crochet Puff Flower Solid Square
I have made a full video tutorial for these crochet puff flower solid squares to help you see the stitches clearly. Sometimes reading a pattern can be tricky, so watching me move the yarn makes it much easier to follow.
You can see exactly where to insert your hook to turn the petals into a flat square. Please subscribe to the Crafting Happiness YouTube Channel to save the tutorial for later and see all my new videos.
How To Crochet The Puff Flower Solid Square
If you like this design, please Share and Pin! Follow me on Pinterest here. Tag me @CraftingHappinessCrochet with your finished items, I would love to see how yours turns out.

Crochet Puff Flower Solid Square Ad-free PDF Pattern
I have a special gift for my Patreon family to help you with your hobby. You can get the ad-free PDF version of my crochet puff flower solid square pattern as a thank you for being part of my family.
I encourage you to join the Crafting Crew tier on Patreon for the entire library of stitches and patterns I have created. It is a great way to keep all your instructions in one place without any ads on the screen.
Your support helps me keep making these tutorials for everyone to enjoy.
Pattern Notes For Crochet Puff Flower Solid Square
Pattern Type:
- Square Motif
Size Of Hook Used:
- 4.5mm hook
Yarn Used
- Acrylic Aran Yarn
Crochet Abbreviations Used
Basic Stitches Used:
- st – stitch
- ch – chain
- sc – single crochet
- dc – double crochet
- tr – treble
- yo – yarn over
- sl st – slip stitch
Written Pattern For Crochet Puff Flower Solid Squares
- The stitches between ( ) are to be made into the same stitch or chain space (as instructed).
- The stitches between * * are to be repeated as many times as instructed.
- The number at the end of the row or round is the number of stitches unless otherwise stated.
How To Crochet A Puff Flower

With the color of your choice, create a magic ring.
Round 1: ch1, 12sc in the magic ring, pull the tail to close the magic ring, sl st to close the round = 6
Round 2: all stitches made in the back loop only, leaving the front loops exposed, **ch2, *yo, insert hook into the same st, yo, and pull up a loop* x 3, *yo, insert hook into the next st, yo and pull up a loop * x 3 (you now have 13 loops on your hook), yo and pull through all but last loop on your hook (you’ll have 2 loops on your hook), yo and pull through both loops, ch2, sl st into the next st** x 6 = 6 puff stitches (6 petals)

If you crochet over the yarn tail from the magic ring, you will minimize the yarn ends you will have to weave in at the end.
I also made a video tutorial for my crochet puff flower, if you want to watch how it’s made from scratch.
Turning Puff Flowers Into Solid Squares

Turn your flower with the bottom facing you. We will be working in the exposed front loops we created when we crocheted the puff flower.
Join the green yarn with a slip knot in any back loop.
Round 1: ch2, dc in next loop, (2dc,tr,2dc) in next loop, *dc in next 2 loops, (2dc,tr,2dc) in next* x 3, sl st at the top of ch2 you made at the beginning to close the round, turn = 28
Round 2: ch3, dc in next 2sts, (2dc, tr, 2dc) in the tr stitch below, *dc in next 6sts, (2dc, tr, 2dc) in next st (the tr stitch below)*x3, dc in next 3sts, sl st at the top of ch3 to close the round = 44
To make the solid square bigger, repeat Round 2 by making 1dc in each dc below, and (2dc, tr, 2dc) in every tr below.
If you like this design, please Share and Pin! Follow me on Pinterest here. Tag me @CraftingHappinessCrochet with your finished items. I would love to see how yours turns out.

Crochet Puff Flower Solid Squares – Final Thoughts
I hope you enjoyed making these crochet puff flower solid squares with me today. They are a great way to make a thick and cute flower square motif.
Tag us at @CraftingHappinessCrochet so I can see your colorful flower squares.
Happy Crocheting!
Looking For Similar Patterns To The Crochet Puff Flower Solid Squares?
- Crochet Heart With No Magic Ring Free Pattern & Video

- Free Crochet Simple Flower and Leaf Applique Pattern With Video

- Free Crochet Mesh Bow Pattern (NO SEW)

- Free Crochet Star Emoji Appliqué Pattern

- Simple Crochet Flower – Pattern and Tutorial

- How to Crochet a Puff Stitch Daisy Flower: Free Pattern

- Easy Crochet Rose Flower Embellishment

- Easy Crochet Poppy Flower Applique Free Pattern

Copyright
The photographs in this tutorial are subject to copyright. They are the property of Crafting Happiness. Don’t use them to advertise your own creations. You may use photos from this post only if you directly link back to this tutorial.
You may use photos from this post only if you directly link back to this tutorial.
