
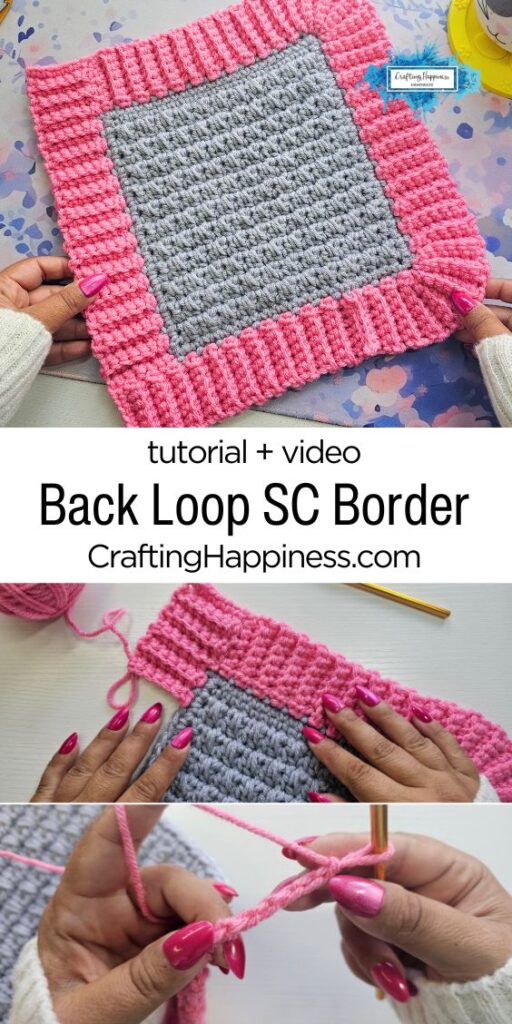
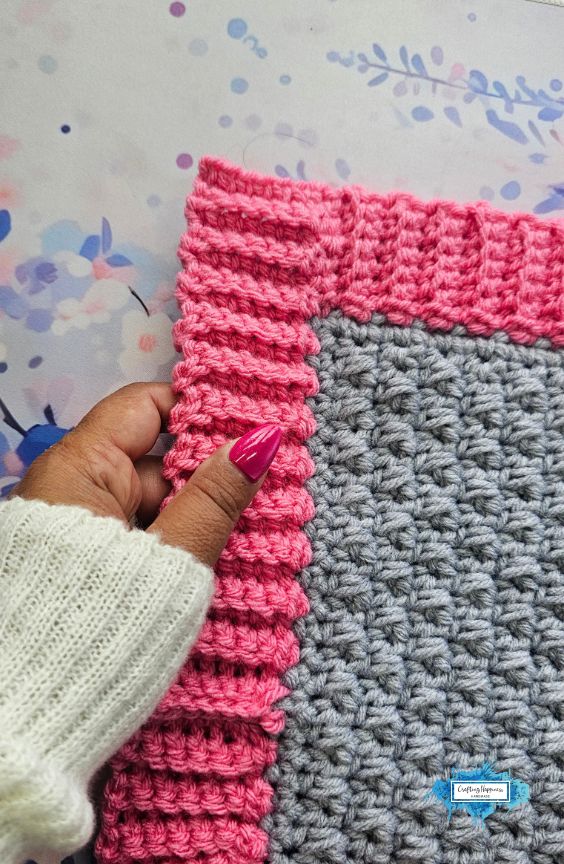
I designed this back loop single crochet rib border because I wanted a stretchy, modern edging that works for different garments I’ve been designing lately.
Adding a clean edge to your blankets or clothes can change the whole look of your work. I often find that a regular border can pull too tight, so I made this version to give your projects a neat, professional finish.
*This post may contain affiliate links to support the cost of this blog. At no cost to you, I may make a small commission if you purchase through these links. Read our Privacy Policy HERE

Project Overview
This pattern creates a classic ribbed texture by working into the back loops of your stitches. It attaches directly to your project as you go, so you do not have to sew it on at the end. You can choose to make the corners sharp and square or smooth and rounded.
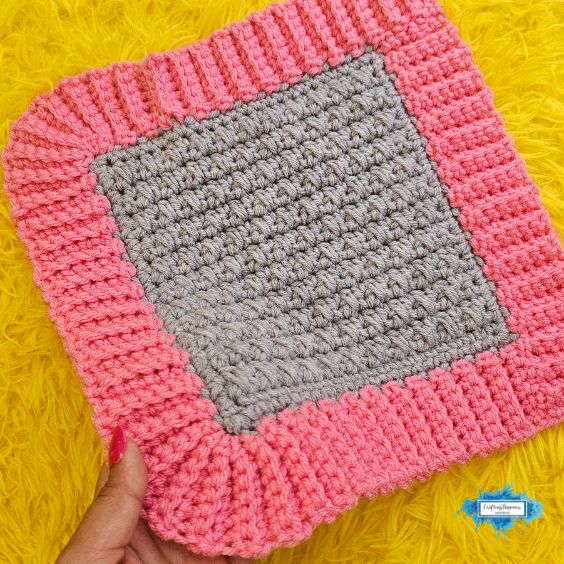
BEST FOR: Crochet blankets, sweater cuffs, waistbands, and collars.
PATTERN MULTIPLE: Works on any number of stitches along your edge.
ROW/ROUND REPEAT: Two-row repeat.
COLOR CHANGE: row 2 and 3
PATTERN TYPE: Textured and reversible.
YARN USAGE: Heavy (Thick/Dense)
VIDEO TUTORIAL: Watch on Crafting Happiness YouTube Channel
If you found this post helpful, please like and share. Follow me on Pinterest for more crochet inspiration. Follow us on Instagram, Tiktok and Facebook @CraftingHappinessCrochet.
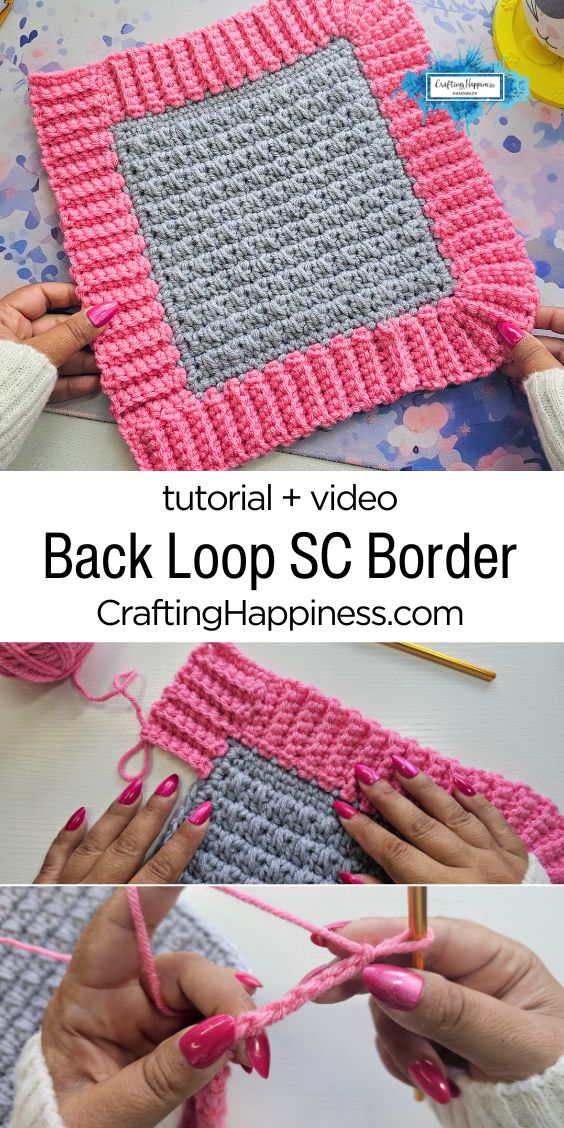
- Project Overview
- Why this style works for your blankets & garments
- Is this ribbing pattern right for you?
- What can you make with a ribbed crochet border?
- Watch the step by step video tutorial
- Supplies needed for this tutorial
- Choosing your colors and corner options
- Crochet Abbreviations
- How to crochet a back loop single crochet rib border
- Final Thoughts
- Looking for similar stitches to crochet?
- Copyright
Why this style works for your blankets & garments
- It adds a stretchy, knit-look edge to your clothes.
- You can fix tight blanket edges that curl up.
- The pattern offers two corner options in one tutorial.
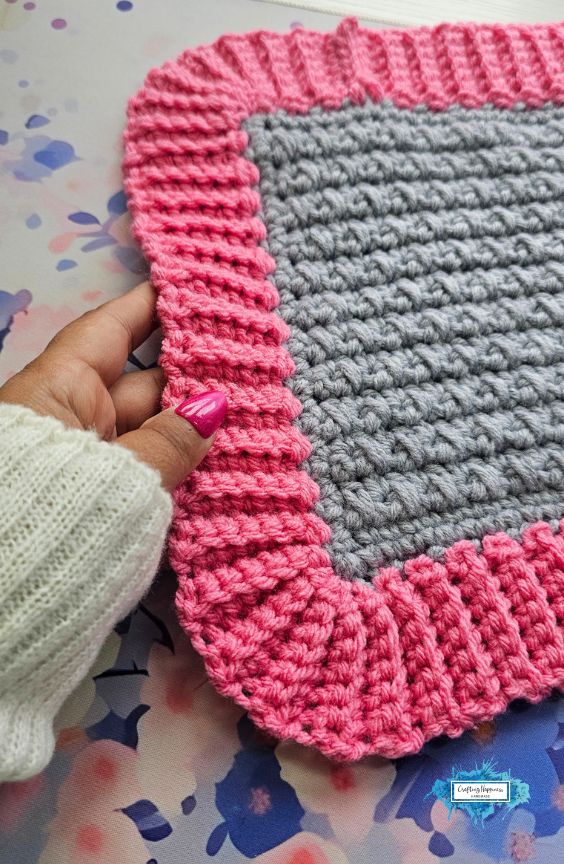
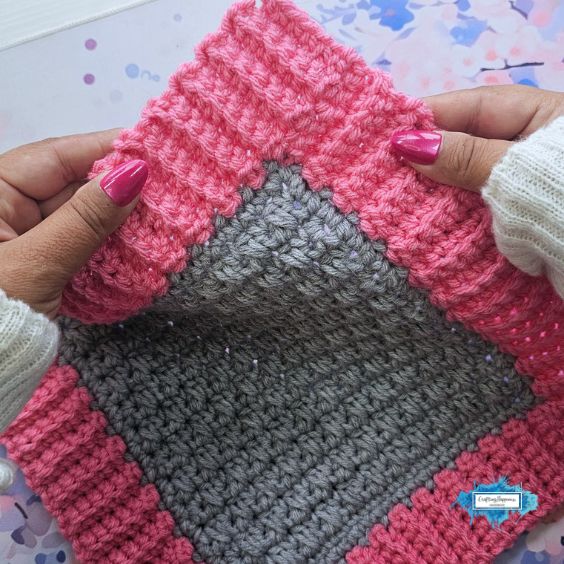
- It looks identical on both the front and the back.
Is this ribbing pattern right for you?
- If you are a beginners who know the basics: If you can make a single crochet, you can easily master working into the back loop.
- If yu design garments or blankets and need different corners: This is perfect if you want a substantial border that weights down the edges of a large afghan.
- If you hate sewing or weaving ends: Since this single crochet ribbing border is joined as you go, you save time during assembly.
What can you make with a ribbed crochet border?
You can use this technique on many different items beyond standard blankets. It works wonderfully as a crochet blanket border ribbing, but it is also great for clothing. You can use it to finish the bottom edge of a cardigan, the hem of a top, or the brim of a warm winter hat.
Because the back loop single crochet border is thick and stable, it keeps garment edges from rolling up. It also adds a nice weight to light throws, making them drape better over a sofa or bed.
Watch the step by step video tutorial
I recorded a full video tutorial to show you exactly how to crochet a ribbed border on your own projects.
I walk you through the basic row repeat, and I show you the exact stitch placement for both the square corners and the rounded corners so you can follow along easily.
How to Crochet a Back Loop Single Crochet Rib Border
Supplies needed for this tutorial
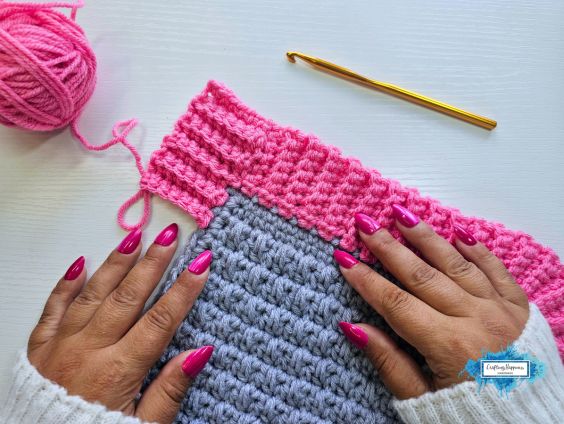
For this specific tutorial, I used a standard medium weight yarn and a matching hook that fits the yarn thickness.
You can easily use any yarn weight you have in your yarn stash. Just check the label on your yarn skein and choose the recommended hook size that matches it.
If you tend to crochet tightly, you might want to move up one hook size just for the border rows to keep the ribbing nice and stretchy.
Choosing your colors and corner options
When making your swatches, you can try out different looks to see what fits your main project best. A solid color that matches your project creates a subtle look, while a contrasting color makes the texture pop.
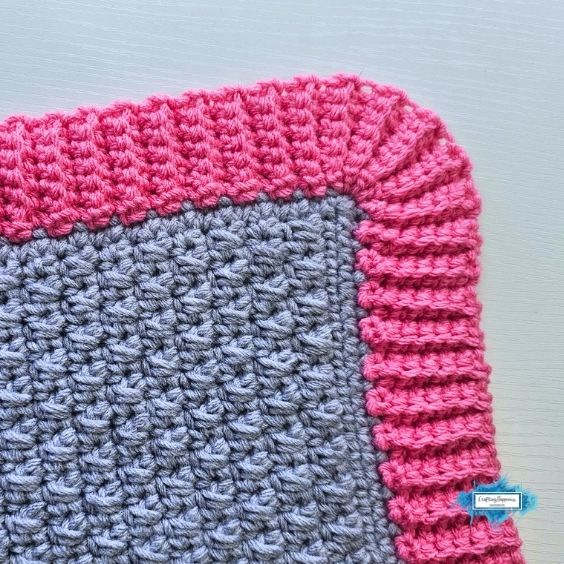
You can practice the crochet ribbing corners on a small square swatch first to decide whether you prefer the clean lines of the square corner or the soft curve of the rounded corner.
Crochet Abbreviations
Written in US terms using Craft Yarn Council abbreviations.
- st(s) – stitch(es)
- ch(s) – chain(s)
- yo – yarn over
- sl st – slip stitch
- sk – skip
- sc – single crochet
- sc blo- single crochet in the back loop only
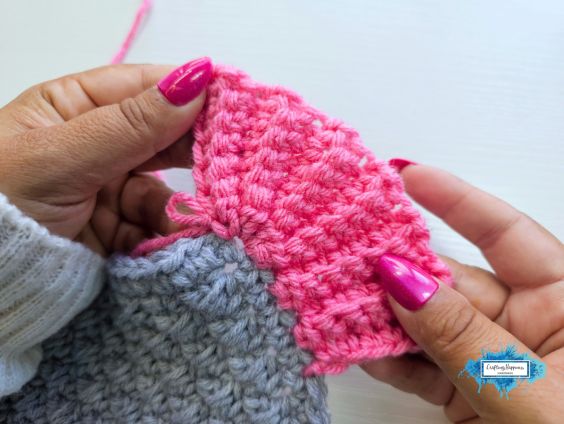
How to crochet a back loop single crochet rib border
Special Stitches
Single Crochet In The Back Loop Only (sc blo) – To work a single crochet into the back loop only, insert your hook down through the middle of the top “V” to pick up only the strand furthest away from you, then complete a standard single crochet to create a beautifully textured, stretchy ridge.
Row-By-Row Pattern Instructions
Setup Row: To help your ribbing border attach neatly, you’ll want to have a base layer of stitches crocheted all the way around your work first.
I made 2 tutorials to show you how to crochet a base border, one for projects made with double crochet rows and one for projects that are made with treble rows.
For blankets or other projects that are made with single crochet rows, just make 1sc in each row end and 3sc in each corner.
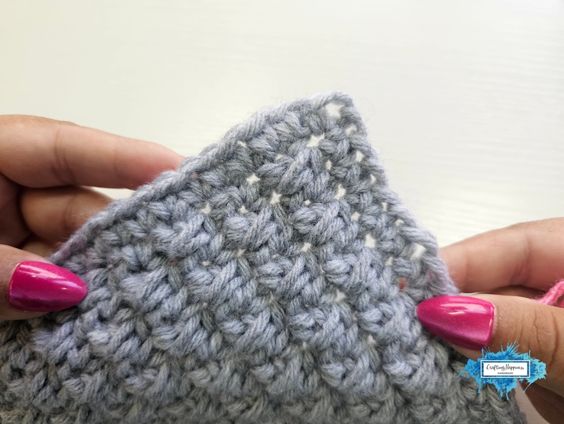
Starting Chain: Chain your desired number of stitches to determine the width of your border (for example, Chain 7 for a 6 stitch border).
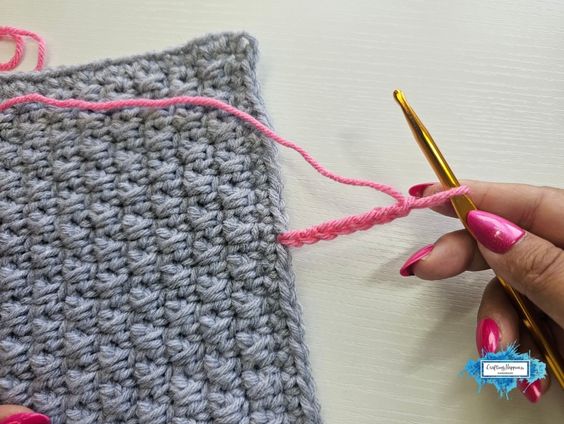
Row 1: sc in the 2nd chain from hook, sc in each remaining ch, sl st in the next 2sts along the blanket, turn = 6
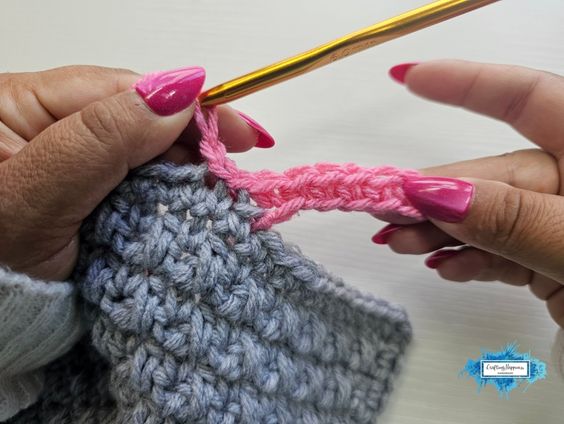
Row 2: Skip the two slip stitches you just made on the blanket edge and work back out along the border row , sc blo in each st, ch1, turn = 6
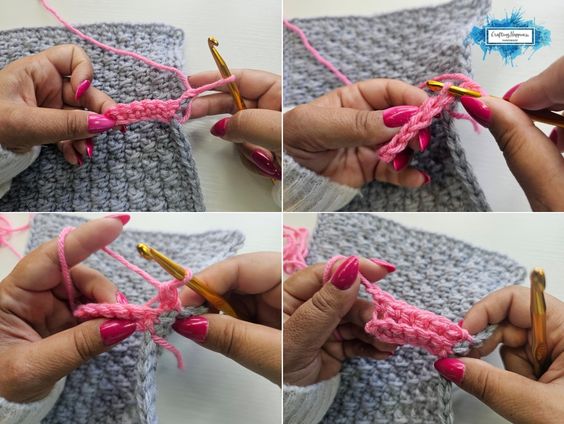
Row 3: sc blo into each st along the border row, sl st in the next 2sts along the blanket, turn = 6
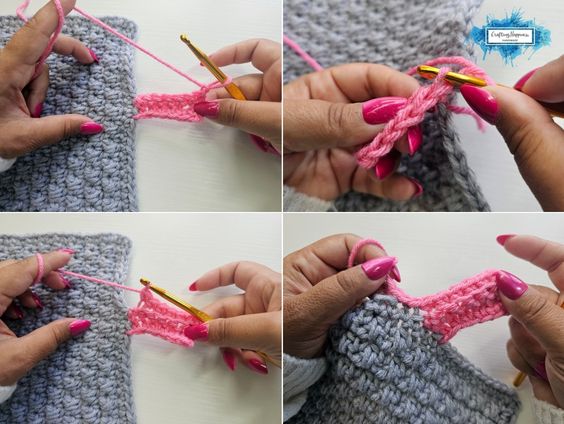
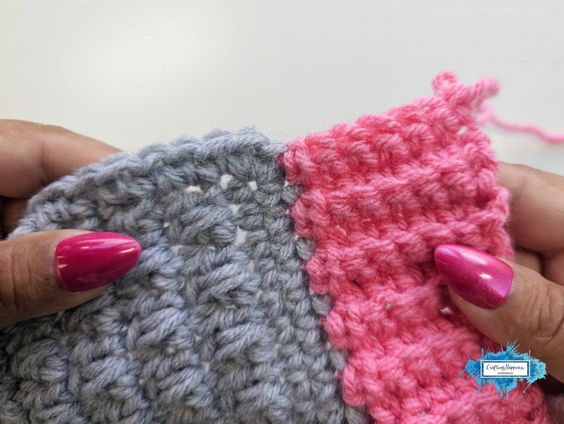
Repeat Rows 2 and 3 all the way along the straight sides of your project.
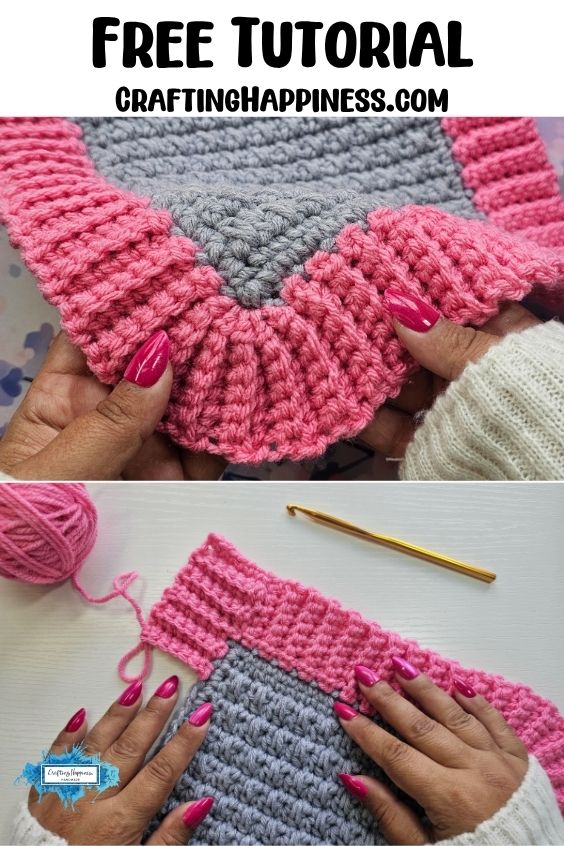
For Rounded Corners: When you reach the corner stitch of your blanket, work 4 consecutive repeats (repeating the Row 2 and 3 sequence without any double slip stitches) into that exact same corner stitch on the blanket edge.
This adds the extra fabric needed to allow the ribbing to turn 90 degrees cleanly without pulling.
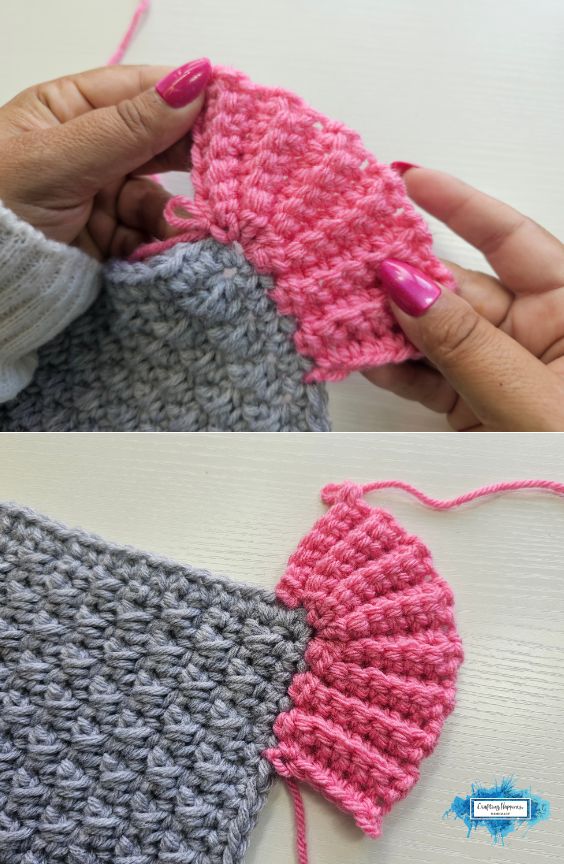
For Square Corners: Once you have crocheted the last row on the edge and before you crochet into the corner stitch, make sure to finish with your yarn at the top of the border and turn your work around.
We are going to treat the newly created rib border as part of the edge and start a new rib border. Start from Row 1 again with chaining 7 and continue just like before along the edge (and he edge of the ribbing) until you reach the next corner.
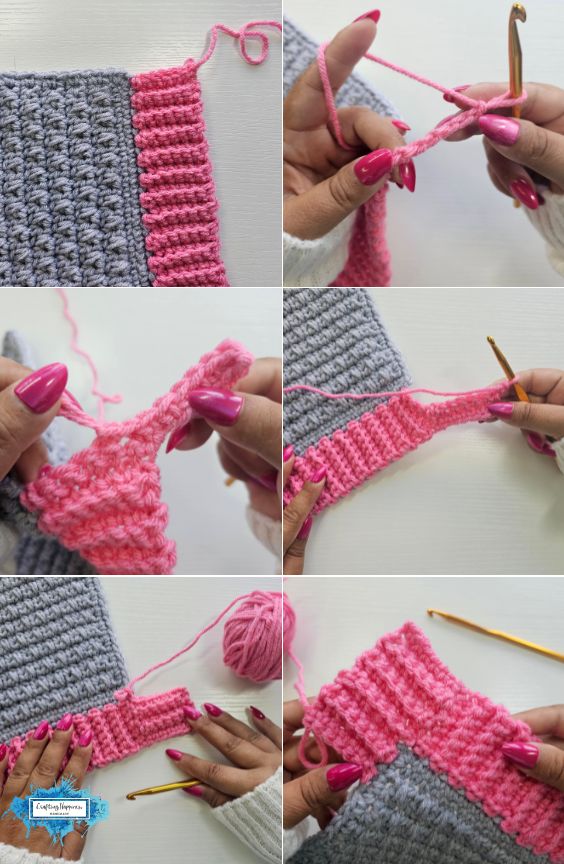
To see the exact stitch placement for the corner transitions and watch how to close the final row cleanly, watch the video tutorial over on Crafting Happiness Youtube channel.
If you found this post helpful, please like and share. Follow me on Pinterest for more crochet inspiration. Follow us on Instagram, Tiktok and Facebook @CraftingHappinessCrochet.
Final Thoughts
Thank you so much for stopping by to try out my tutorial. I hope this new technique helps you finish your latest project with a clean, professional edge.
Don’t forget to tag me @craftinghappinesscrochet with your creations using this border, I would love to see them!
Happy crocheting!
Looking for similar stitches to crochet?
- How To Crochet Spade Stitch Border (With Video)

- Crochet Large Scalloped Edging Instructions

- Large Leaf Stitch Border With Video Tutorial
- V Stitch Shells Border Crochet Tutorial

- Crochet Easy Lace Border (aka Chain Border) With Video
- Triple Picot Border Crochet Tutorial With Video

Copyright
© 2026 Crafting Happiness. All rights reserved.
The photographs in this tutorial are subject to copyright and are the property of Crafting Happiness. Don’t use them to advertise your own creations. You may use photos from this post only if you directly link back to this tutorial.
