
The idea for the Sedum Stitch started when I came across the crossed double crochet stitch online. I liked the way the stitches crossed over each other, but it made me wonder what would happen if I replaced the two double crochet stitches with something different.
*This post may contain affiliate links to support the cost of this blog. At no cost to you, I may make a small commission if you purchase through these links. Read our Privacy Policy HERE
Project Overview
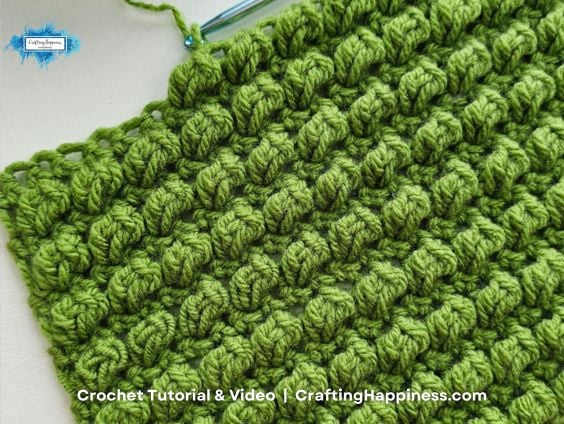
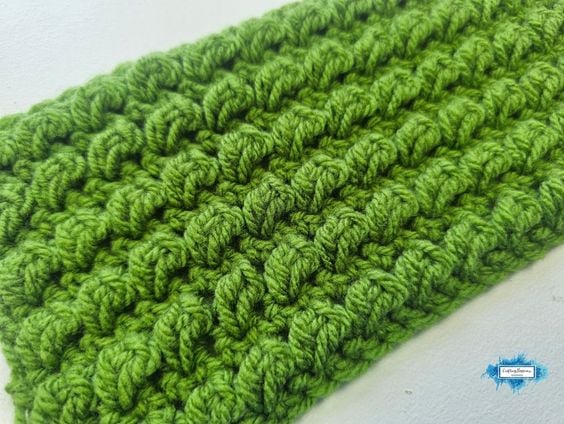
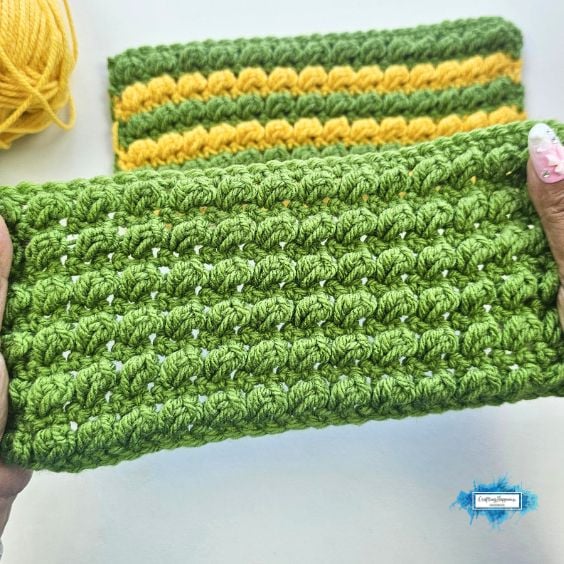
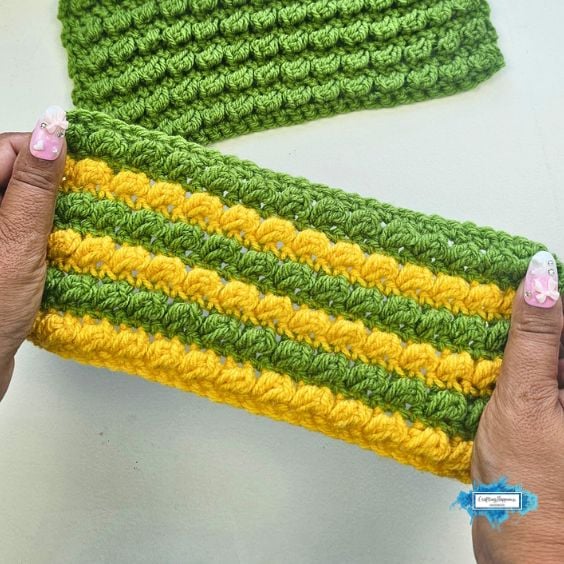
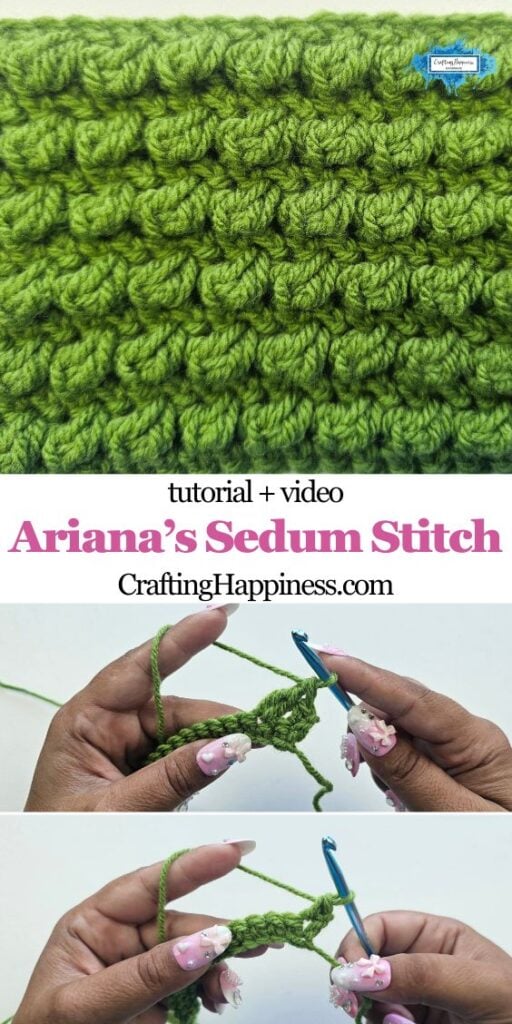
I designed the Sedum Stitch as a simple two-row repeat that uses only basic crochet stitches. The front of the fabric has rows of raised leaves, while the back stays smooth and flat.
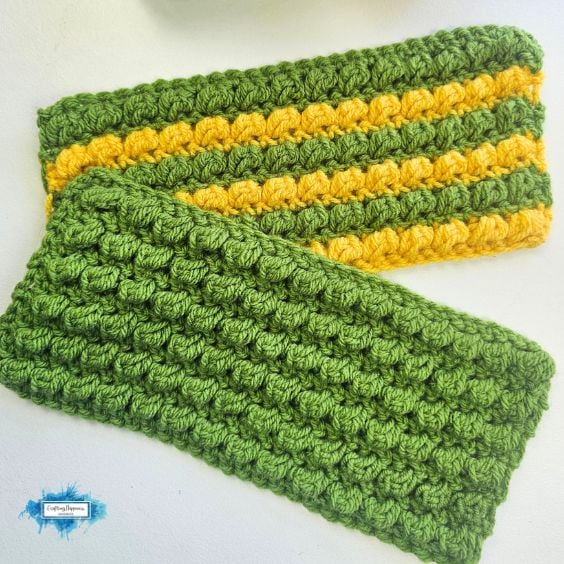
BEST FOR: Bags, hats, baskets, cushion covers, blanket borders and textured panels
PATTERN MULTIPLE: 2x + 1 chains
ROW/ROUND REPEAT: 2 rows
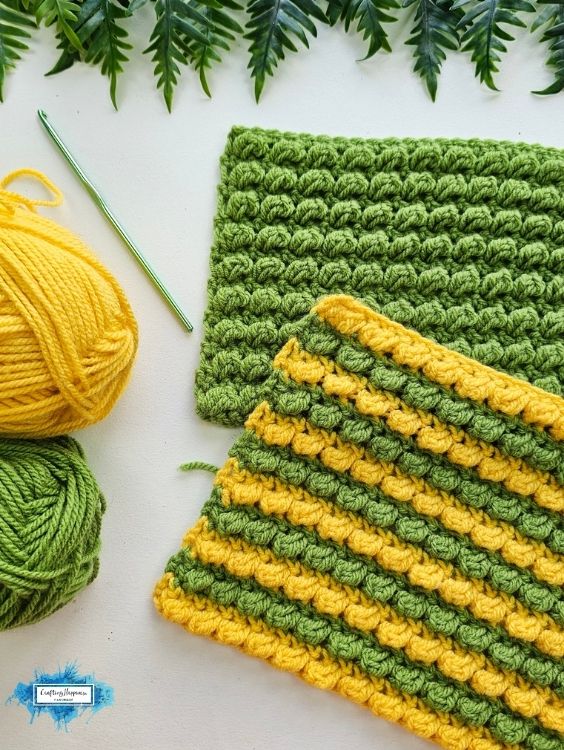
COLOR CHANGE: Every 2 rows
PATTERN TYPE: Solid, Textured, One-sided
YARN USAGE: Aran, Medium (Thick/Dense)
VIDEO TUTORIAL: https://www.youtube.com/watch?v=4lrukkggoB8&list=PLKCBBlbOlqZhgm9g5tPe4v2mT2C8MReb0&index=79&pp=iAQBsAgC
If you found this post helpful, please like and share. Follow me on Pinterest for more crochet inspiration. Follow us on Instagram, Tiktok and Facebook @CraftingHappinessCrochet.
Why I keep using this stitch?
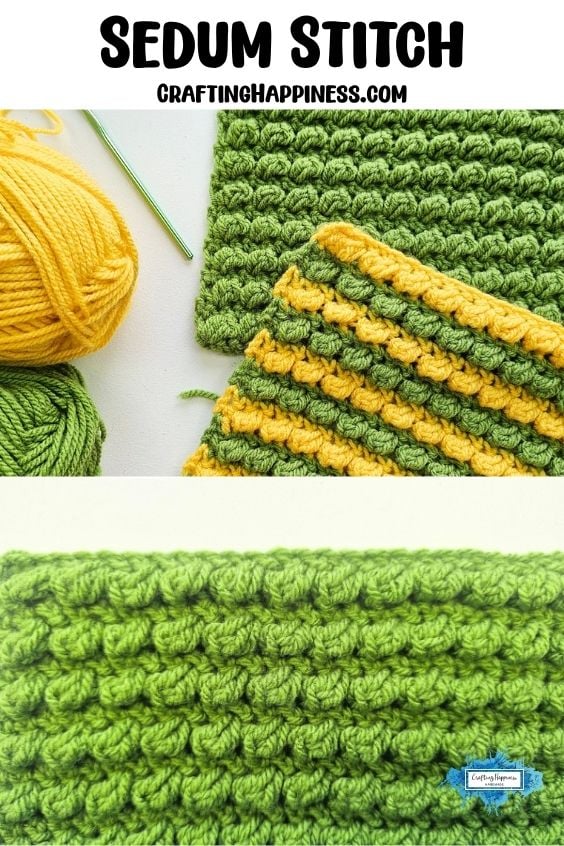
I like stitches that look more complicated than they really are, and that’s exactly what the Sedum Stitch does.
Once you learn the two-row repeat, you’ll spend more time enjoying the texture than checking the instructions.
Why you’ll love this stitch:
- Easy two-row repeat.
- Uses basic crochet stitches.
- Creates a textured fabric that looks like rows of succulent leaves.
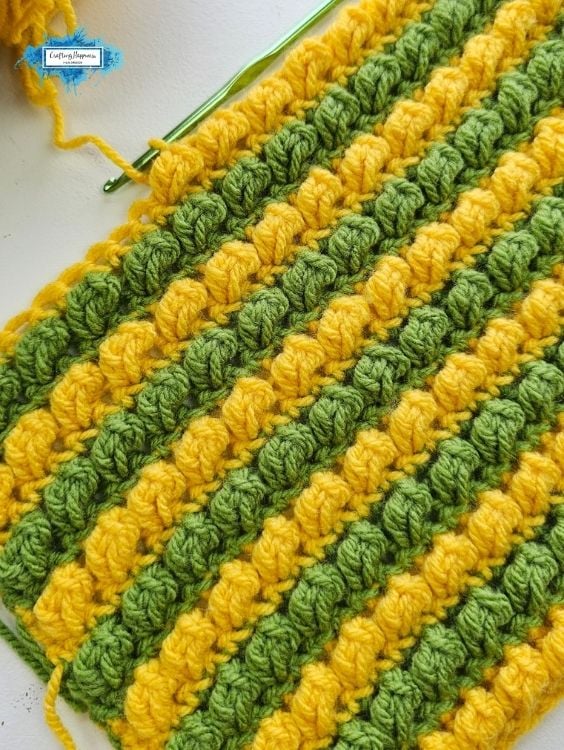
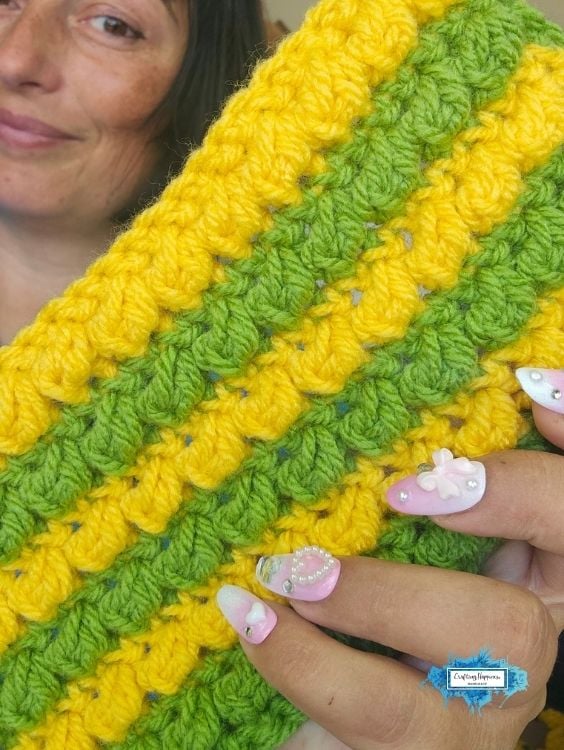
- Looks beautiful in solid colors or stripes.
- Works well as a feature panel or for projects worked in the round.
- Includes a written pattern, video tutorial and step-by-step photos.
What I like making with the Sedum Stitch?
Depending on the yarn and your tension, you may notice the fabric leaning slightly to one side.
Blocking usually fixes this, and I think this stitch works especially well for projects made in the round or as textured accent sections.
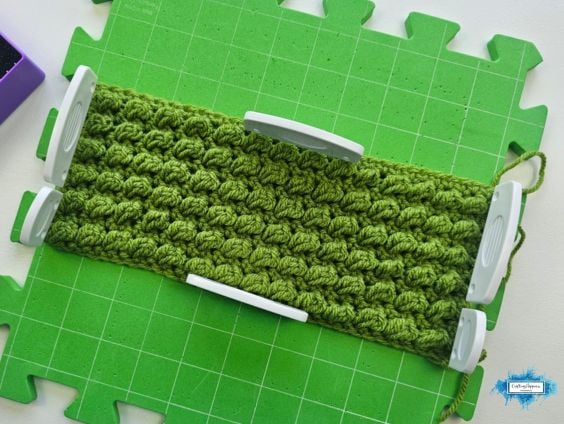
Because the Sedum Stitch creates a dense fabric, I use it for projects where I want the texture to stand out.
Bags, hats, baskets and cushion covers are some of my favorite choices because the raised leaves become part of the finished design.
I also like adding it as a decorative panel to blankets, scarves and garments. It creates a nice contrast when paired with simpler stitches and gives larger projects an extra layer of texture without making the entire pattern complicated.
Crochet along with me
I created a step by step video tutorial so you can follow every step at your own pace. If you learn better by watching someone crochet, you can work alongside me while using the written instructions and step-by-step photos whenever you need them.
How To Crochet My Sedum Stitch
The materials I chose
For this tutorial, I used Aran weight yarn with a 5 mm crochet hook. I like this combination because it shows the leaf texture clearly while keeping the fabric soft and flexible.
You can use almost any yarn for this stitch. I recommend using the hook size suggested on your yarn label and making a small swatch first so you can see how the texture looks with your chosen materials.
Swatches Section
I worked my sample swatches in solid colors because they make the texture easier to see.
If you enjoy using more than one color, try changing colors every two rows. That simple change makes each row of leaves stand out while keeping the repeat easy to follow.
Crochet Abbreviations
Written in US terms using Craft Yarn Council abbreviations.
- st(s) – stitch(es)
- ch(s) – chain(s)
- yo – yarn over
- Mdc2tog – Modified double crochet 2 together
- sk – skip
- sc – single crochet
How to crochet the Sedum stitch
Starting chain: ch31
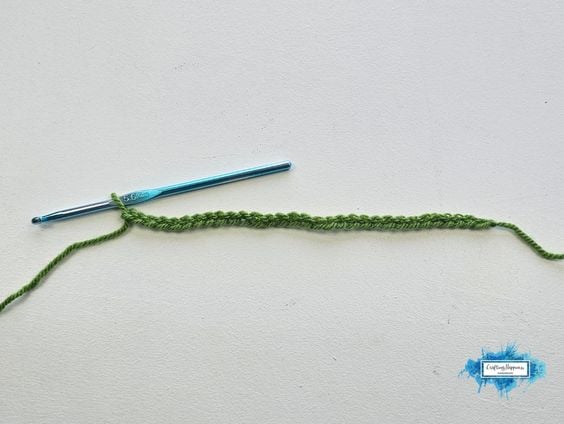
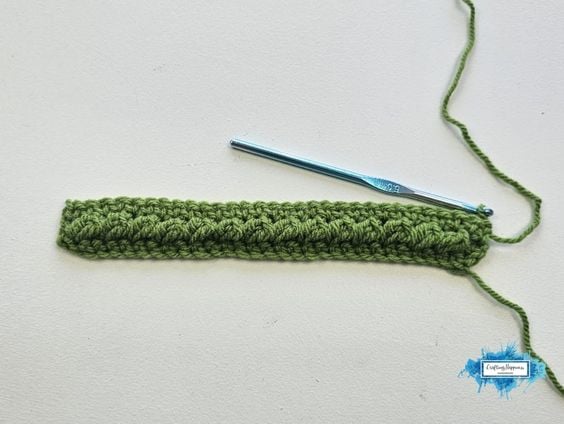
Row 1: sc in 2nd st from the hook, sc in each remaining st, ch1, turn = 30
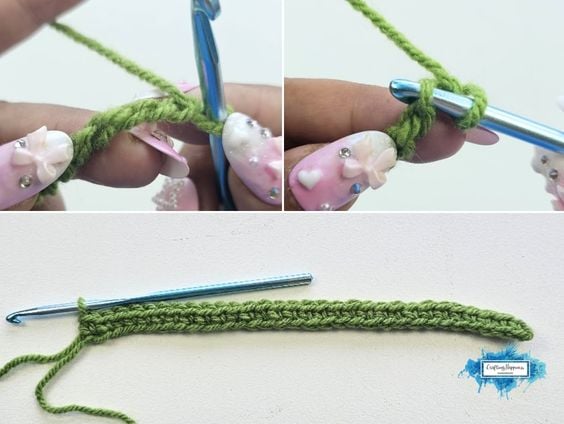
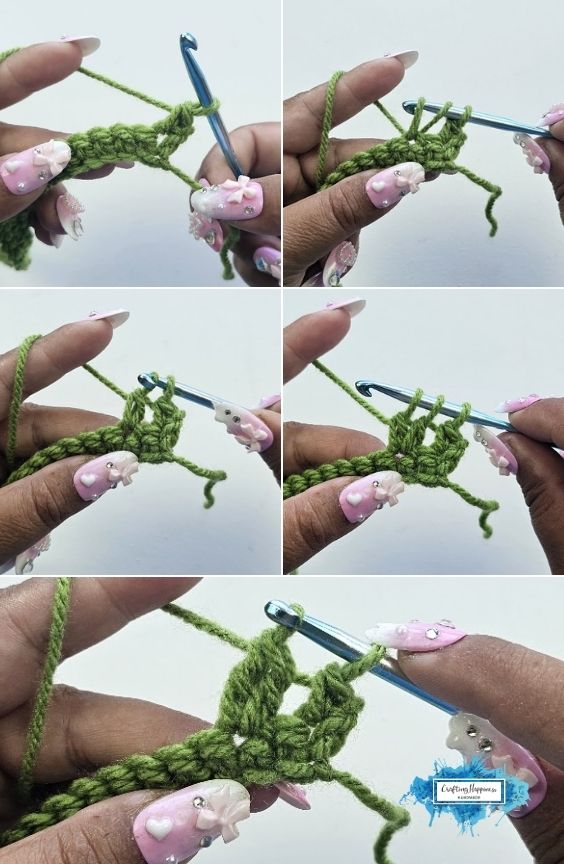
Row 2: *sc, sk1, Mdc2tog in next, sc in skipped st (behind the dc2tog)*, repeat ** until you have 1st left, sc, ch1, turn
Modified Double Crochet 2 Together (Mdc2tog) – this is a regular dc2tog modified to have a longer shape that looks like a leaf.
*Insert hook into the stitch, yo and pull up a loop, yo and pull through the first 2 loops on the hook. Leave the incomplete dc stitch on the hook* x 2 (you will have 3 loops on your hook), yo and pull through first 2 loops (2 loops on your hook), yo and pull through the 2 remaining loops on your hook.
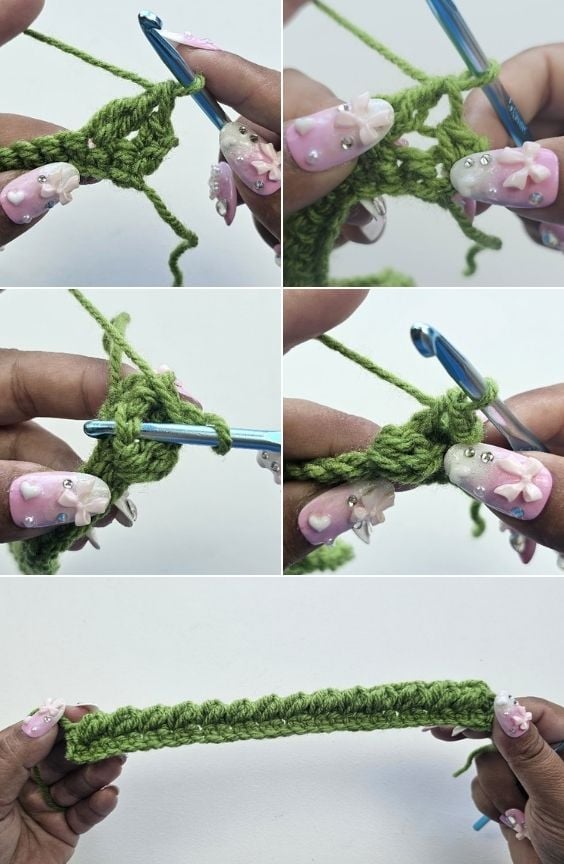
Row 3: sc in every stitch, ch1, turn
Repeat rows 2 and 3 until you have the desired length to your work xt, sc in skipped st (behind the dc2tog)*, repeat ** until you have 1st left, sc, ch1, turn
If you found this post helpful, please like and share. Follow me on Pinterest for more crochet inspiration. Follow us on Instagram, Tiktok and Facebook @CraftingHappinessCrochet.
Final Thoughts
Designing new crochet stitches always starts with a simple question for me. Sometimes the first idea works, but most of the time it doesn’t.
The Sedum Stitch is a good example of how one unsuccessful experiment can lead to something much better.
I hope you enjoy using the Sedum Stitch in your own projects. If you make something with it, I’d love to see what you create. Happy Crocheting.
Looking for similar stitches to Sedum Stitch?
- How to Crochet the Sedum Stitch (Easy Video & Photo Tutorial)
- How to Crochet a Back Loop Single Crochet Rib Border

- Classic Mesh Stitch – The Simple Stitch Pattern That Makes Yarn Go Twice As Far

- Crochet Strawberry Stitch Tutorial & Video

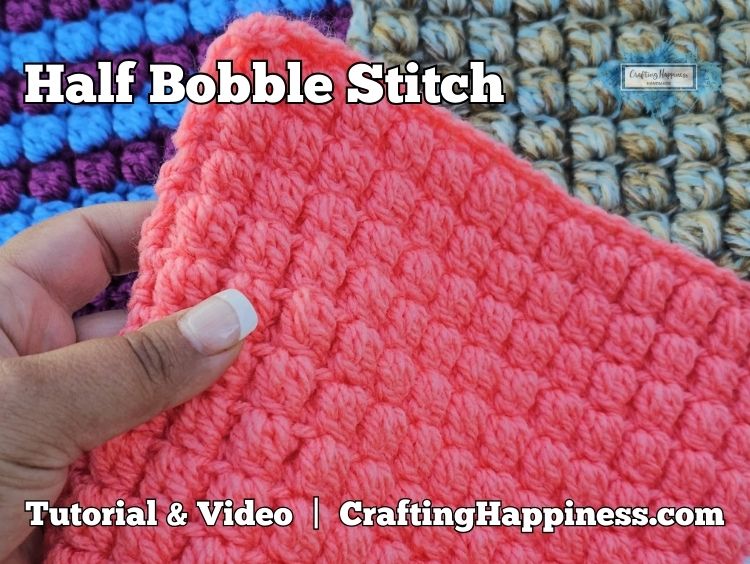
- How To Crochet A Half Bobble Stitch For Blankets
- Crochet Linked Flowers Stitch: Step-by-Step Tutorial for Beginners

Copyright
© 2026 Crafting Happiness. All rights reserved.
The photographs in this tutorial are subject to copyright and are the property of Crafting Happiness. Don’t use them to advertise your own creations. You may use photos from this post only if you directly link back to this tutorial.
