
How To Crochet The Slip Stitch (SL ST)

This tutorial is the third in a series of 8, designed to teach you the basics of crochet.
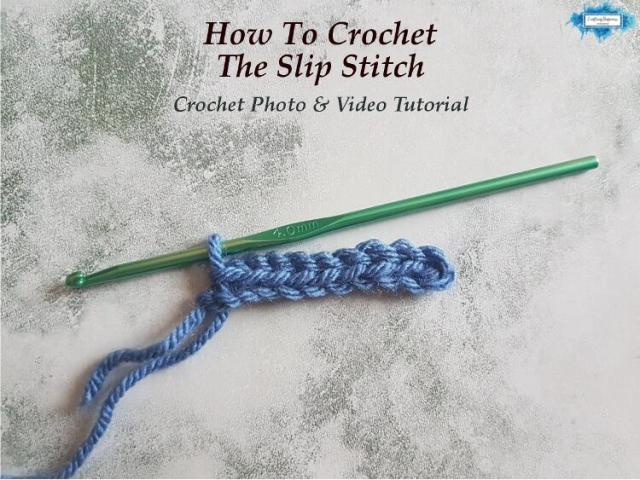
The Slip Stitch – Crochet Technique
At the end of the 8 part tutorial, you will be able to crochet the basic stitches, do a slip knot, chain and make a magic ring.
Last time I showed you
2. how to make a slip knot and crochet the chain stitch
Today you will learn how to make a slip stitch.
The slip stitch is the shortest of the basic stitches and is usually used as a technique than a stitch.
It is used to move the yarn along the row without adding any height and it’s also used to connect stitches when working in the round.
Below you will find the written tutorial with step-by-step instructions and photos and a short video that shows you in detail how to make the slip stitch.
Please note that this post contains affiliate links, I will earn a small percentage should you choose to purchase something, but it will be at no cost to you. You can see my full disclosure policy here. Thank you for supporting my work and this blog.

Video Tutorial
Subscribe to Crafting Happiness YouTube Channel to save this video for later.
How To Crochet The Slip Stitch
Photo Tutorial
The abbreviation for the slip stitch is sl st.
This abbreviation is written in US terminology using Craft Yarn Council abbreviations.
Step 1: Start with a chain.

Step 2: Insert your hook in the 2nd chain from the hook, yarn over, and pull a loop through.
Then pull that loop through the loop that was already on the hook
Your slip stitch is complete.

Step 3 (optional): To create a row of slip stitches, continue to crochet one in each chain.
You can use this stitch to create a knit-like row on your project or connect rounds and move the yarn across your work.

And this is how you crochet the Slip Stitch. If you found this tutorial helpful, please share and Pin it! Follow me on Pinterest here.
Don’t forget to tag me @craftinghappinesscrochet with your creations, I would love to see them and share them with my fellow crocheters.
Looking For Similar Crochet Techniques?
- Crochet Strawberry Stitch Tutorial & Video

- How To Crochet A Half Bobble Stitch For Blankets

- Crochet Linked Flowers Stitch: Step-by-Step Tutorial for Beginners

- How To Crochet The Cat Stitch Step By Step For Beginners

- How To Crochet The Feather Stitch (In Single And Multiple Colors)

- Crochet Bamboo Leaf Stitch Tutorial With Video

- Knotted Half Double Crochet

- How To Crochet The Puff V Stitch

COPYRIGHT:
The photographs in this tutorial are subject to copyright and are the property of Crafting Happiness, don’t use them to advertise your own creations. You may use photos from this post only if you directly link back to this tutorial.
Happy Crocheting!


